What you need
- A Mac running macOS 14 (Sonoma) or later.
- Disk space for your repositories: a repository holds your descriptions, not your digital files, which stay where they are.
Memory Atlas works entirely locally. It connects to no service, not even Obscura Flow: the transfer happens through a package that you import yourself.
Install the application
- Open the
Memory Atlas-<version>.dmgdisk image provided by your team. - In the window that opens, drag Memory Atlas onto the Applications shortcut.
- Eject the disk image, then launch Memory Atlas from the Applications folder or from Launchpad.
The distributed version is signed and notarized by Apple: macOS opens it without a warning. If your team gave you a trial version that is not notarized, macOS may block it the first time you launch it; in that case, open it with a right-click › Open.
To access the files you link to your archives (Desktop, Documents, external drives, network volumes), macOS will ask for your permission the first time. Accept: without it, Memory Atlas cannot read your files’ metadata or check that they are still there.
The welcome window
At launch, Memory Atlas shows the Welcome to Memory Atlas window. You use it to create a repository or open one.
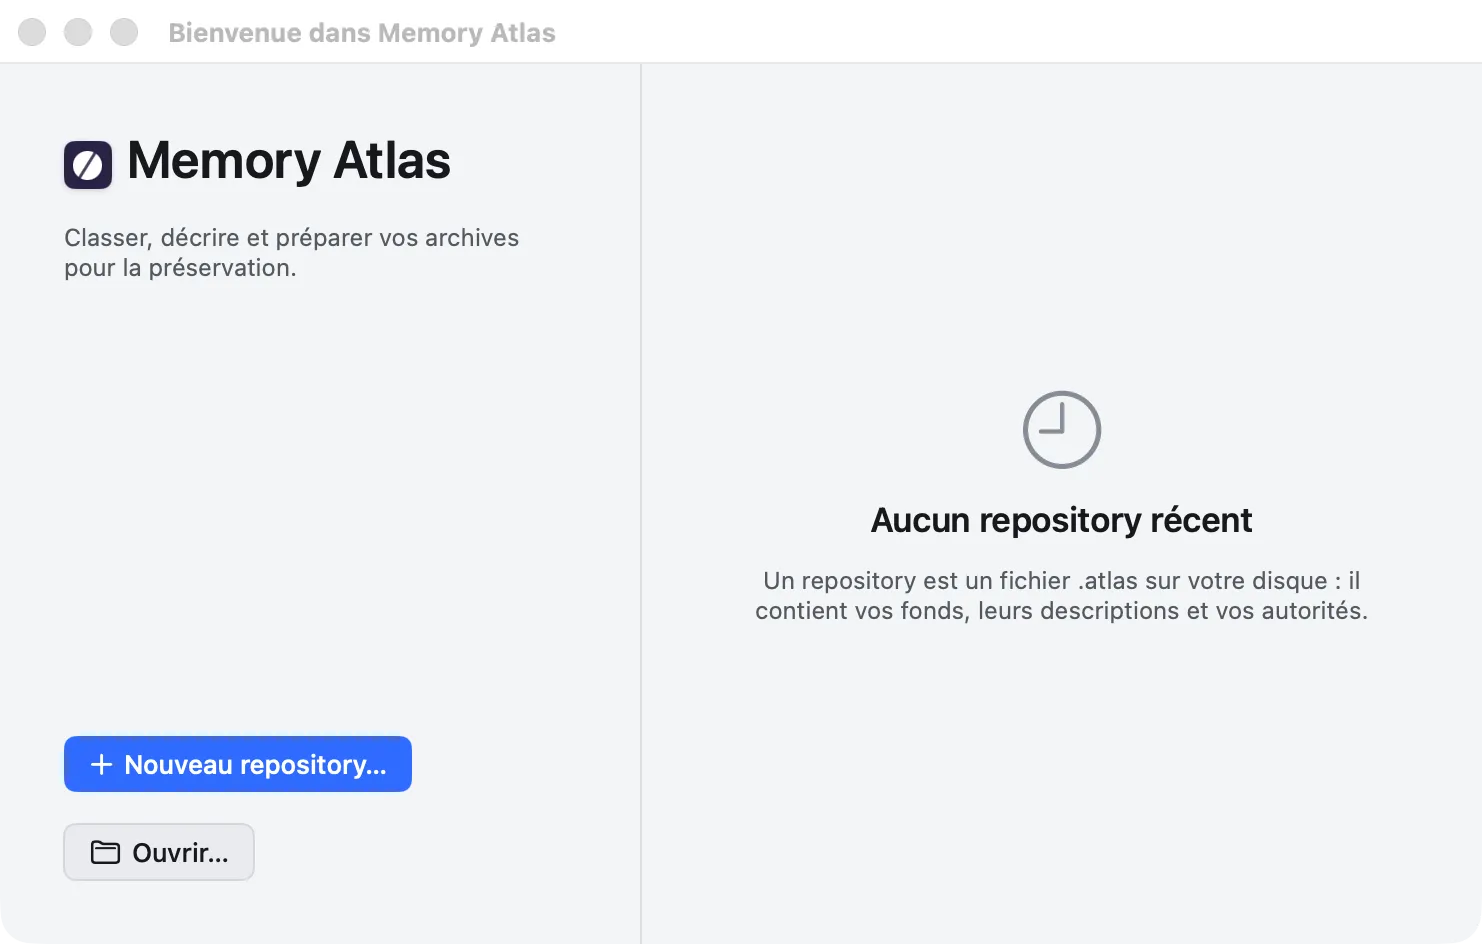
- New Repository… (⇧⌘N) creates a repository: this is the subject of the next chapter.
- Open… (⌘O) opens an existing
.atlasrepository.
Once you have opened repositories, the right-hand side keeps a list of them, from most recent to oldest (ten at most). Click a name to reopen it.
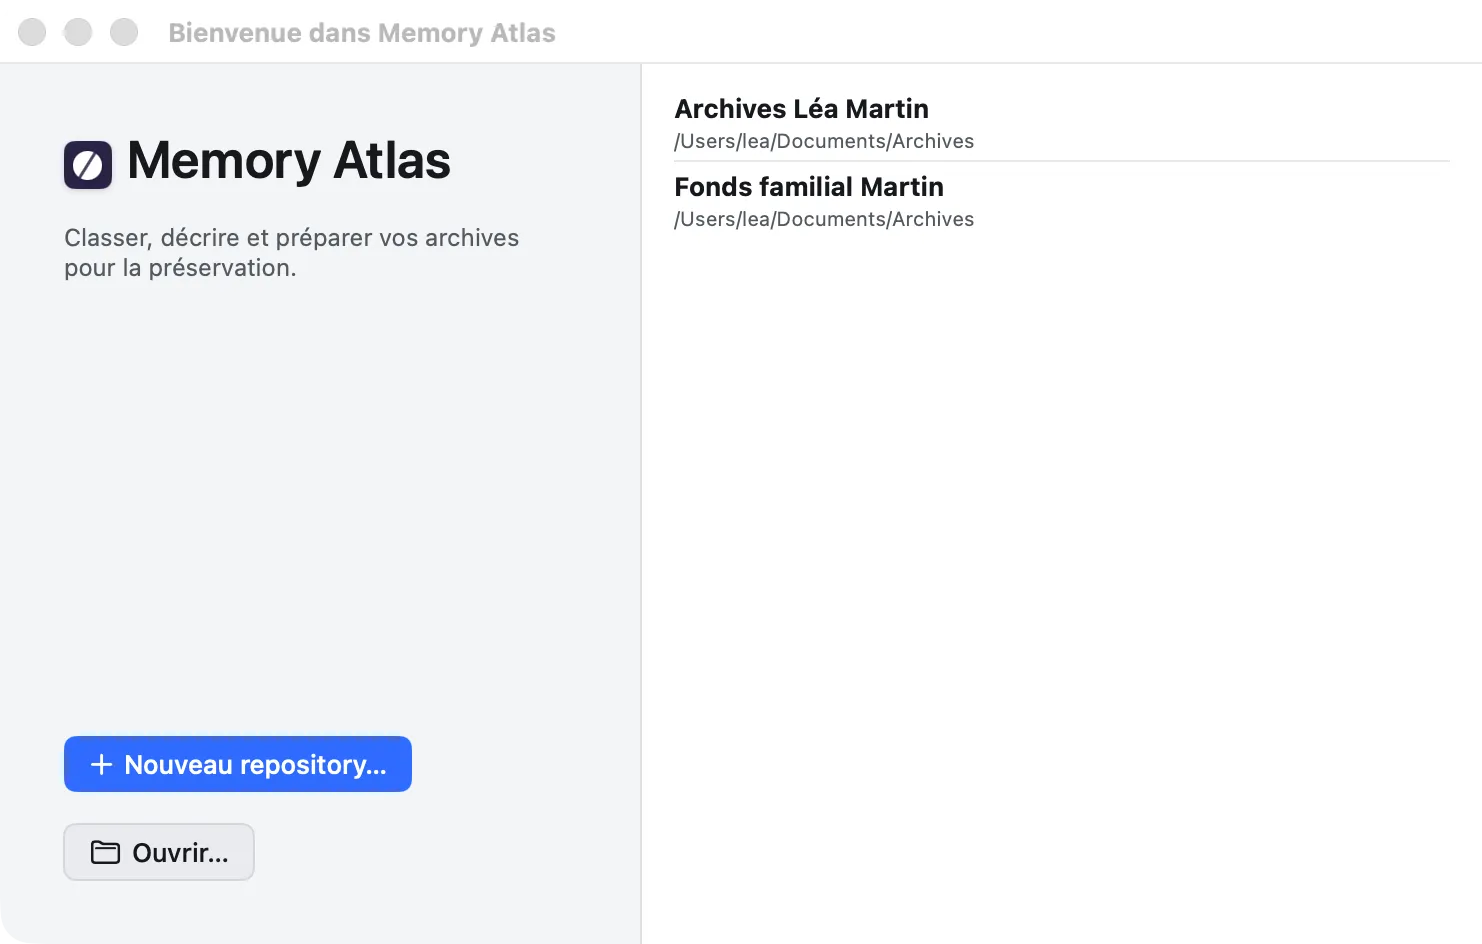
Right-clicking a recent repository offers Show in Finder and Remove from List. If the file has been moved or renamed in the meantime, Memory Atlas tells you and offers Locate… so you can point to its new location (see Troubleshooting).
You can also open a repository without going through the welcome window: double-click the .atlas file in the Finder, or drop it on the Memory Atlas icon in the Dock. If Memory Atlas wasn’t running, only the repository window opens, without the welcome window. If the repository can’t be opened, its window gives the reason; close it to get back to the welcome window.
The menus to know
Memory Atlas commands are spread across the usual Mac menus, plus three menus of its own:
| Menu | What you find there |
|---|---|
| File | New Repository… (⇧⌘N), Open… (⌘O), Repository Identity…, Export › JSON…, Import an Export…, Restore a Safety Copy… |
| Edit | Undo / Redo (⌘Z / ⇧⌘Z), Filter Tree (⌘F), Global Search (⇧⌘F), Reveal in Tree (⌘R) |
| View | Command Palette… (⌘K), Toggle Essential / Complete (⌘E), Show / Hide Inspector (⌥⌘I), the sidebar (⌃⌘S) |
| Unit | New Child Unit (⌘N), New Sibling Unit (⌥⌘N), Move Up (⌃⌘↑), Move Down (⌃⌘↓), Move To… (⇧⌘M), Move to Trash (⌘⌫) |
| Go | Fonds (⌘1), Authorities (⌘2), Terms (⌘3), Accessions (⌘4), Search (⌘5), Transfers (⌘6), Back (⌘[), Forward (⌘]) |
| Preservation | Validate Branch… (⌘L), Prepare for Preservation… (⌥⌘P), Transfers |
Every change can be undone with ⌘Z, including moving a branch, a validation or an export.
Updates
Once a day, Memory Atlas checks on its own whether a new version has been released, and offers it to you in a window: it is only installed with your consent. Memory Atlas › Check for Updates… checks right away. So that it never connects, uncheck Automatically check for updates in Memory Atlas › Settings… (⌘,), General tab (see Settings).
Choose the interface language
Memory Atlas is available in French and English. By default, it follows the macOS language (French if macOS is set to neither French nor English). To choose, open Memory Atlas › Settings… (⌘,), General tab, then Interface language: System language, Français or English. The new language applies the next time the app starts; the Relaunch now button restarts the application right away.
The data you enter is never translated, and transfer packages keep their vocabulary, whatever the interface language.